Coloured daisies
Hi everyone!
Do you sometimes feel like things get over-complicated when you’re trying to find new activities to keep your kids amused? I admit, that’s often the case at my house. But then I realize it’s the simplest things that capture their attention the most. This little experiment proved just that – simply letting the kids add a little rainbow effect to a bouquet of daisies gave them lots of pleasure.
Try it out and add a little extra colour this spring!
Maman-Bricole
Coloured daisies
A simple experiment with a dramatic result
Prep time: 5 minutes
Experiment: 2 days
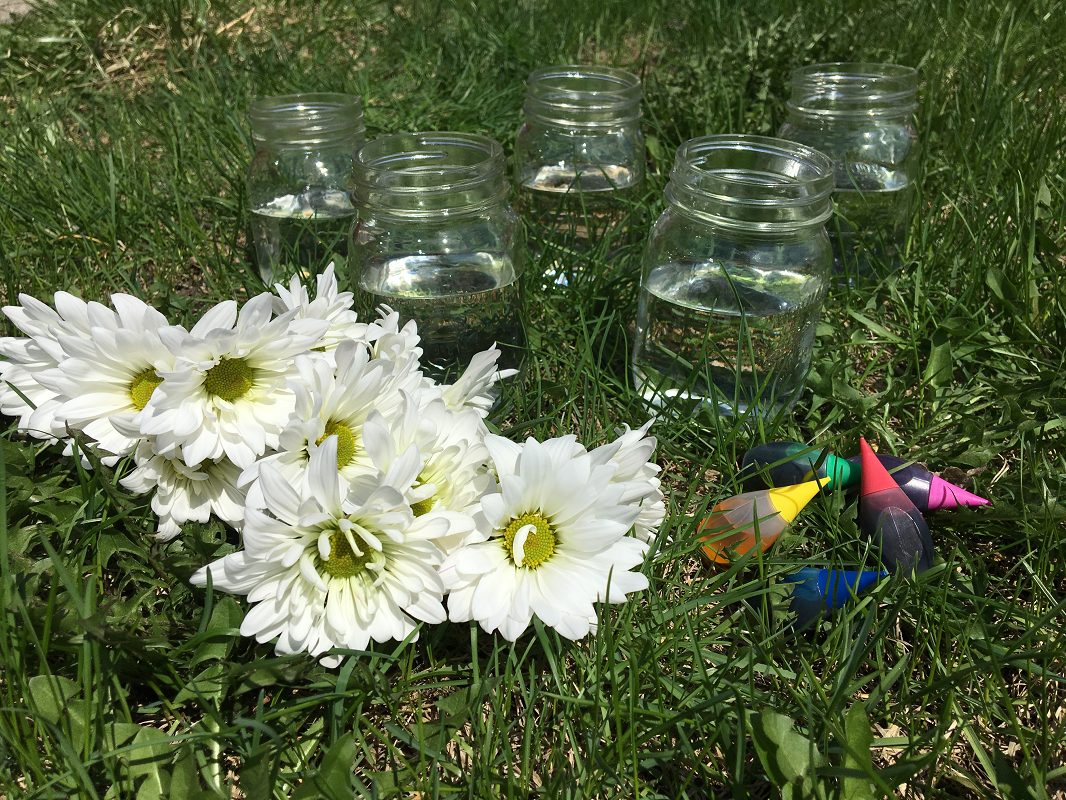
To make your own coloured daisies, you’ll need:
Glass jars
Water
Food colouring
Daisies (or other white flowers)
1. This is your basic material.
2. Once you have picked or bought your daisies, fill various jars with water and add several drops of food colouring to each. Here, we chose red, yellow, green, blue and purple.
3. Then just pop the daisies in.
*Mom tip: I suggest that you put 2 or 3 flowers in each jar. If the flowers may wilt quickly your kids may be disappointed not to see their desired colour make it to the final stage. This way, there will be at least a couple of each colour that survive!
4. The colours start to appear fairly quickly. This is the result after just 20 minutes!
5. And after 3 hours.
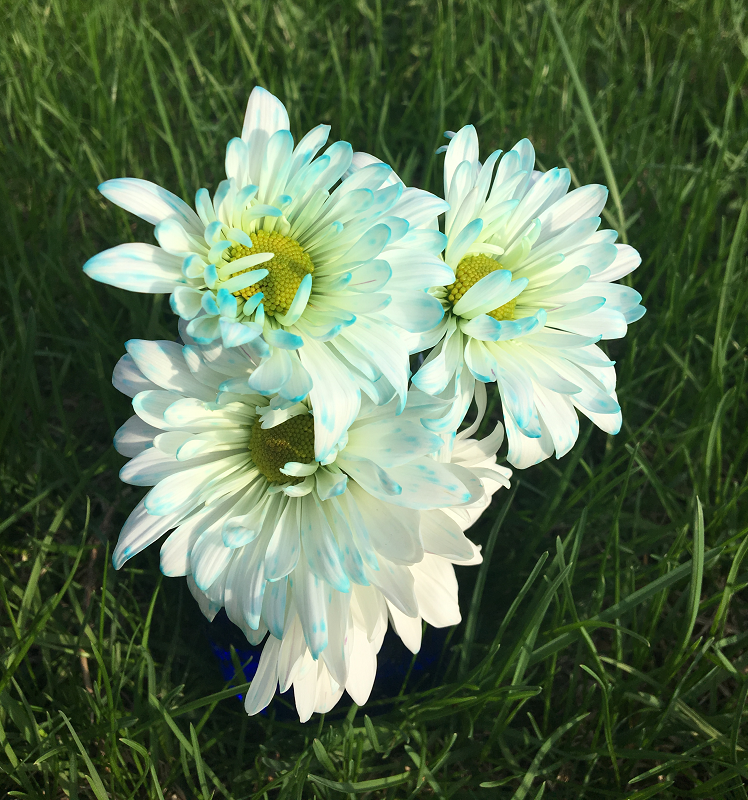
6. The next day, the flowers were looking awesome!
7. And 48 hours later, they were perfect!
My daughter was so excited to give this bouquet to her grandmother!
Psst! This also makes a great gift for your child’s teacher or daycare educator!
Do you like playing with colours? Here’s another fun little experiment!
To pin it:


Jaime presents this new collaboration with RW&Co. Which look is your favorite?